People have been baking bread with sourdough starter for thousands of years. It's an ancient technique that's ripe for renewal. And it's a lot easier than you think. With plenty of patience and about a week of diligent feedings, you'll be able to transform plain water and flour into a bubbly leavening that you can use to bake bread.
What is a sourdough starter?
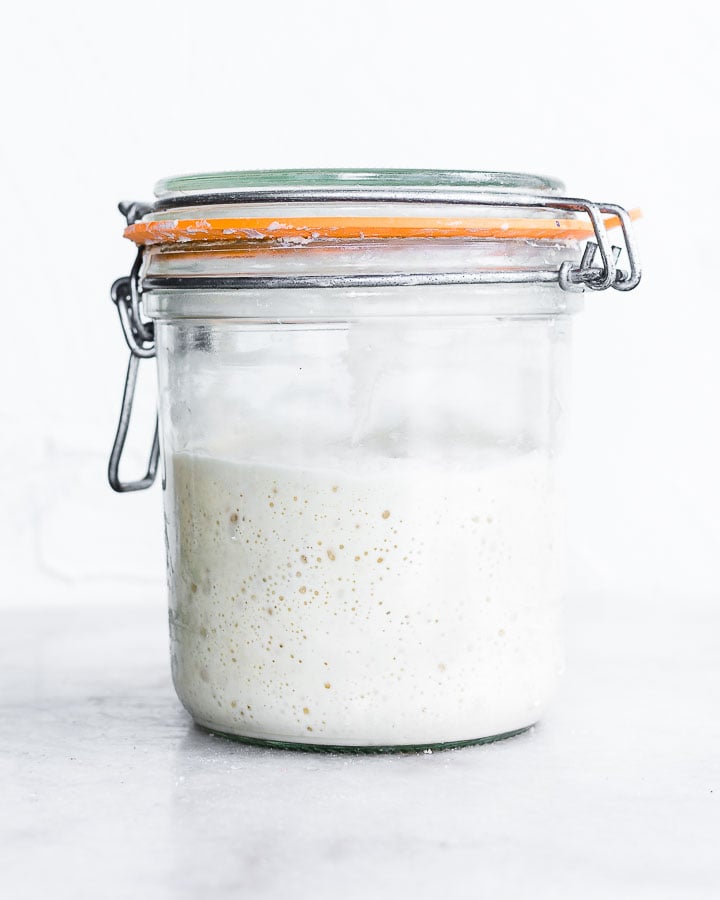
A sourdough starter is the natural leavening that gives sourdough bread its flavor and also makes it rise. Sourdough starter and wild yeast have served as the leavening agent for bread bakers throughout most of human history. That is, until commercial, packaged baker's yeast became available in the mid-19th century. However, it wasn't until much later that it became accessible for most home bakers.
Like yogurt, sourdough starter is rich in active, live cultures. These cultures include lactic- and acetic-acid-producing bacteria and various strains of wild yeast (2), but your environment, the type of flour you use, how much water you add, and other factors influence the microbial content of your starter (3). These tiny microorganisms work together to make amazing bread. The bacteria give bread a slightly sour flavor, while the wild yeasts in the starter help to make your it rise.
How does it work?
Sourdough starters work by capturing and activating the naturally occurring wild yeast and bacteria in the environment. These microbes are just about everywhere: in the flour, on your kitchen surfaces, and even on your hands (4). When you add water to the flour, you activate these tiny organisms and they begin to multiply.
With time, and consistently adding new water and new flour to the mix (a practice bakers call "feeding"), the bacteria and yeast in your starter will become super active. That's because a wet environment is perfect for their growth, and is essential for the fermentation process. As these microbes grow, they'll eat the carbohydrates in the flour, and release carbon dioxide, B vitamins, and natural acids. The principle is it at work in other fermented foods, too. It's why kombucha is bubbly and sauerkraut is sour.
So, when you mix a bit of your own starter into flour and other ingredients for making bread, they'll continue to eat those carbohydrates and release more carbon dioxide and more acids. The carbon dioxide makes the bread rise and the acids give sourdough bread its distinct tart flavor.
How to make a sourdough starter
Making your own sourdough starter is an exercise of patience and daily diligence. But it's also empowering. There's nothing quite like making your own homemade bread from a ripe starter that you created yourself from nothing but flour and water. After about a week (sometimes longer), your starter will be ready to use.
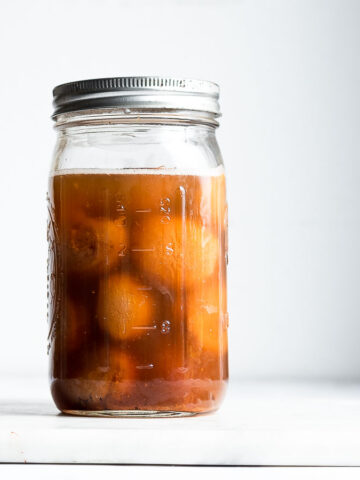
- Starting. You'll need to whisk a little bit of flour and water together in a jar. Seal the jar tightly, and then let it rest for a day.
- Daily feedings. On days 2 and 3, you'll need to feed your starter once a day. That means discarding half of the starter and then mixing in equal amounts of flour and water to replace what you discarded.
- Twice daily feedings. On days 4 and 5, you'll notice that your starter becomes active and starting to expand. You'll also need to feed the starter twice daily with about 12 hours between feedings.
- Knowing when your starter is ready. When your starter doubles in volume between feedings, it's ready for baking. It usually begins to double by day 6. Feed it once more, and then transfer it to the fridge. If your starter isn't doubling in volume by day 6, continue feeding it two times a day until it does double within a few hours of a feeding.
What's in it?
Sourdough starters are marvelously simple. You only need flour, water, and a little patience. But, with so few ingredients, you need to also pay attention to quality, too. Because a little deviation can make a big difference.
The easiest approach for beginning sourdough bakers is to use unbleached bread flour, warm water, and a bit of an heirloom culture. You can use a starter made from bread flour to leaven loaves of bread made with other flours like whole grains, spelt, emmer, einkorn, and rye.
- Starters made with bread flour rise with greater consistency and predictability than whole-grain flour starters.
- Filtered water without chlorine will help the good bugs establish themselves in your starter more easily.
- An heirloom starter gives a good boost to your new starter. While not strictly necessary, they're helpful for beginners to ensure that the bacteria and yeast maintain a proper balance.
Flour for your starter
Technically, any grain-based flour works for making a sourdough starter. Flours made from rice, rye, spelt, einkorn and wheat all work. However, bread flour works the best and yields the most reliable starter. Even if you raise your starter on bread flour, you can still make bread with other types of flour.
- Use fresh flour. Fresh flour should have a pleasant sweet aroma. If your flour's been lingering in your pantry for months, it's best to buy a new bag.
- Whole-grain flours make tricky starters. They're high in vitamins minerals and food enzymes. While high nutritional content is generally a good thing, when it comes to sourdough starters, it means that they behave less predictably than white bread flour. Starters made from whole-grain flours typically need to be fed more often and are more difficult to maintain. They're also prone to false starts, where they bubble quickly, but lose all activity later.
- Unbleached bread flour works particularly well because, once it's established, it rises and falls predictably with little fuss or extra maintenance. That's why it's the best choice for beginning sourdough bakers.
Water for Sourdough Starter
Choose filtered water when establishing and feeding a sourdough starter. In most areas, water is chemically treated with chlorine to keep it safe and free from pathogens. But it can also damage the bacterial and yeast cultures in your starter, so if you're new to sourdough choose filtered water.
If you don't, let your tap water sit on the counter overnight to allow the chlorine to dissipate.
- Choose filtered or dechlorinated water for the best results. You can still make a starter with tap water, but it may take longer for the beneficial bacteria and wild yeasts to get established.
Use warm water, about 100 F, when feeding your starter. Warm water can give the starter a little boost, but if the water is too hot it can damage the cultures.
Sourdough starter tips
While making your own homemade sourdough starter is easy (all you need to do is mix and measure), there are a few tips and tricks you need to keep in mind. Precision, patience, and diligence matter. In essence, you need to be precise in your measurements, patient in waiting for it to be ready, and diligent in caring for your starter - especially in the beginning.
- Use an heirloom starter, especially if it's your first time. A few tablespoons of heirloom starter from a friend or a packet of starter like this one can give your sourdough a boost. That means a lot less frustration for you.
- Mind your temperature. Cool room temperatures favor the production of yeast which gives your bread its rise. Warm room temperatures favor the production of lactobacillus which gives your bread its flavor. Find the middle ground (about 68 - 72 F) gives your bread excellent rise and great flavor.
- Use a digital scale. The sourdough (and most recipes that call for starter) relies on 100% hydration. That means you feed it equal parts water and flour. To make sure you're doing just that, use a digital scale for precision and consistency.
- Use a tightly-sealed jar. While you can make a sourdough starter in a jar with a loose lid or a cloth cover, a tight seal usually results in better yeast production - which means a better rise for your loaves of bread.
Variations
For newcomers to sourdough baking, starters made from bread flour work best because they're more predictable and easier to maintain than starters made with whole-grain flours. However, once you have the hang of it, you may wish to experiment or make additional starters using other types of flour.
All-purpose flour works in place of bread flour and is also easy to use for beginning sourdough bakers.
Whole-meal rye flour is a popular choice for sourdough bakers; however, it can be tricky for newcomers. That's because whole-grain flour, and especially rye, are rich in nutrients and food enzymes. It sounds good from a nutrition standpoint; however, the higher number of micronutrients and enzymes means that the starter may behave unpredictably. It will rise more quickly and with less stability than all-purpose or bread flour. So, it's best left to more established bakers.
Whole wheat flour is another popular choice. As with rye flour, the micronutrients and enzymes in whole-wheat flour can increase the activity of your starter and the speed with which it rises and falls. For new bakers, starters made with whole wheat flour can be a bit unpredictable.
Einkorn flour also works well. Einkorn is an ancient variety of wheat that is rich in micronutrients, especially beta carotene which gives the flour a creamy yellow color. Einkorn flour absorbs water at a different rate than other flours, so you will need to use less water.
While this sourdough starter recipe requires 100% hydration (that is equal amounts of flour and water), starters made with einkorn flour are about 50% hydration. That means you should use about half the amount of water as you do flour.
Gluten-free choices can include brown rice flour, teff flour, and buckwheat flour. As with einkorn flour, these gluten-free options will require different hydration levels so you may wish to experiment or work with established gluten-free recipes.
Common Questions
Sometimes a dark liquid that smells of alcohol will develop on the surface of your starter. This is hooch, and it usually indicates that your starter needs to be fed.
Pour off the liquid, and spoon away the grey or discolored starter that typically appears just on the surface. Then, feed your starter as you normally would by discarding half of the remaining starter and replacing it with equal parts water and flour.
There's a chance that your starter may have a microbial imbalance with too much bacteria to yeast. Starters that get super bubbly or frothy in the first few days and then fail to rise at all later are often struggling with this imbalance between naturally occurring bacteria and wild yeast.
Discard your starter and begin again. For best practices, consider using an established heirloom starter which will ensure an appropriate balance of bacteria and yeast. Additionally, work with bread flour or all-purpose flour as problems are less likely to occur with these types of flour than whole-grain alternatives. Lastly, avoid starting your sourdough in hot weather as the heat of the kitchen may create an imbalance between bacteria and yeast, contributing to failed results.
When you're establishing your starter, you'll need to feed it once or twice every day. Once it's well-established and rising predictably, you can transfer it to the fridge and feed it once a week.
An active starter is ready when it doubles in size within a few hours of feeding. Additionally, when it is at its full volume, you can spoon some of the proofed starter into a bowl of water. If it floats, your starter is ready to use for baking. This is called a float test, and it's a great way to judge whether you're ready to mix up some bread dough and bake.
While it seems wasteful, discarding a portion of your starter with each feeding, it is a necessary step in establishing a healthy microbial balance of beneficial bacteria and wild yeast.
In order to provide enough food for these microbes, you must stir in a slurry of flour and water to equal the weight of your existing starter. If you never discarded a portion of it, you would soon have an unmanageable volume. Discarding a portion with each feeding keeps a proper microbial balance and makes maintaining your starter easier and more manageable.
During the first few days of making a sourdough starter, it's best to discard the spent starter instead of using it. It typically has an off-flavor and doesn't have enough established microbes to warrant use.
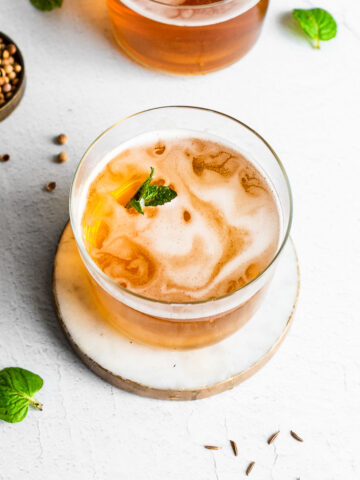
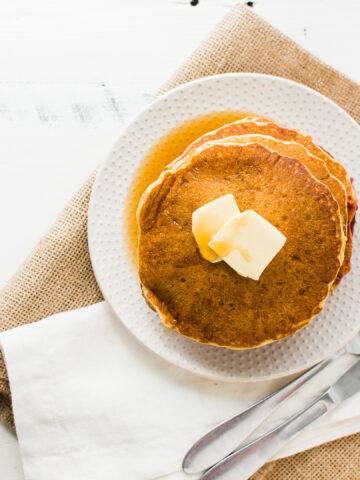
Once your starter is fully ripe and active, then you can use the discard for recipes such as bread kvass, sourdough noodles, or sourdough pancakes.
Once your starter is established and doubling within a few hours of each feeding, you can transition it to a different flour. Sourdough starters can be finicky, so make the transition slowly for the best results.
To transition flours, feed half the amount of the original flour (I recommend bread flour) and half the amount of the target flour. Continue decreasing the original flour and increasing the target flour over the course of the next three feedings until you're only using the target flour.
If you'll be away and can't maintain your feeding schedule, then you can preserve your starter by freezing it. Keep in mind that freezing may damage some of the cultures, so it may take up to a week for it to fully revive.
To freeze it, scoop your starter into a freezer-safe plastic bag or a mason jar allowing up to 2 inches of headspace. To revive the starter, allow it to thaw completely and then resume feed it as you normally would. Feed it twice a day for three days or until it begins to double with each feeding, and then resume your normal schedule.
You should feed a refrigerated starter at least once a week. However, sourdough is a pretty hearty culture and if you forget for a week (or even several weeks) you may be able to revive it.
As long as there are no visible signs of mold, you may be able to revive an old, forgotten starter. First, discard any hooch or brown liquid at the surface of the starter as well as any discolored starter. Then scoop 50 grams of the freshest starter from the bottom of the jar, and transfer it to a clean jar. Now, follow the method of feeding in the recipe above until your starter begins to double in size with each feeding.
Sometimes it can be tricky to see if your starter is actually doubling - especially if it's rising and then falling at night when you're asleep or during the day when you're at work.
For a surefire way to test it, feed your starter and then wrap a large rubber band around the jar at the level of your starter. If you see strings of starter above this mark, you'll know it's rising.
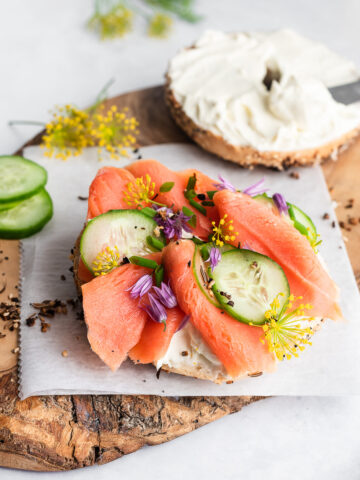
Use your sourdough starter in these recipes
References
- Landis, Elizabeth A et al. “The diversity and function of sourdough starter microbiomes.” eLife vol. 10 e61644. 26 Jan. 2021
- Lhomme, Emilie et al. “Sourdough microbial community dynamics: An analysis during French organic bread-making processes.” Food microbiology vol. 53,Pt A (2016): 41-50.
- Reese, et al. "Influences of Ingredients and Bakers on the Bacteria and Fungi in Sourdough Starters and Bread." mShere. 15 Jan 2020.
Molly says
This worked. I did buy a starter though, and then used this method. I held off writing a review until I was 100% sure. I just made my first loaf and it was amazing.
Lana says
I tried another sourdough recipe and it was all bubbly and then just didn't work at all. So this time I got your starter that you recommended. I thought it was a little expensive but it ended up actually working, so I guess that's worth it.
Sarah says
So, Question...
If you take the 100g from the starter and make a new starter in a 2nd container by adding 50g water and 50g flour to that one as well... would that be a way of multiplying your starters? Like if you want to either bake more or if you want to give some away?
Also, do you have to wait until day 6? Can the discarded portion of the starter be used for anything?
Jenny McGruther says
You should really wait until day 6 to start dividing your starter, just so you have a good batch well-established. But yes, you can take your discard and feed it according to the schedule and make multiple starters.
Nick says
Greetings from Greece! Congratulations for your recipe! I'd like to ask you, if my bread recipe calls for more than 100 gr sourdough starter (e.g. 150gr), so the remaining in the jar will be 50 gr Am i gonna "feed" it with 50 gr of water and 50 gr of flour?
Jenny McGruther says
So, if you pull out 150 gr, I'd recommend feeding 75/75. But, depending how much original starter you have, you may need to build it up a bit first - by increasing the amount of flour and water you feed a few days prior to when you make your recipe. You should always have about 50 g starter in your jar.
Darian Mitchell says
I thought sealing a starter causes it to explode from the pressure?
Jenny says
No, it doesn't.
Tina Lujan says
Super easy to follow. I was so afraid to make a starter (a whole year of stalling) and now I’m relieved that I’ll be baking bread in no time
Karen Jones says
Worked exactly as shown. Successful starter from scratch.
Jason Leighton says
Thank you for this great and simple recipe for sourdough starter. I fermented hot peppers all summer and all they require is water and salt so i said to myself i got this lol. I got myself into bread baking and wanted to desperately make a sourdough bread. This starter is simple and easy to make and is probably how they did it in ancient times. I've tried a starter with yeast and it doesn't come out nearly as tasty as this simple recipe. I use Pillsbury Bread Flour to make my starters with filtered water. I heat the water to about 120 degrees and feed it exactly by your recipe and it comes out great. It has a more natural sour flavor compared to all these crazy recipes like you stated and makes a very rustic bread. Thanks again, because you got me hooked on bread baking 🙂
Carla says
Thank you for the awesome recipes! I love your site 🙂
Jod says
I have my starter going (I actually just kept a bit of raised bread dough before I completed the loaf) and it seems to be growing well. Does anyone have a good recipe for the bread that works well for them?
Connie says
Hmm, one never knows where one will learn something helpful! I had about given up on sourdough thinking the bacteria in my area are "bad" but it looks like I'm just using the wrong kind of flour for the starter. I thought it would be more healthy to use only 100% whole wheat. I'll try a new starter with unbleached all-purpose flour and see if that improves things!
I am keeping a jug of water on the kitchen counter (to keep it at room temperature) just for sourdough starter and am wondering how long it can sit without adversely affecting the sourdough. It takes a while to use it all up and since the flavour of my bread was "off" I thought maybe it was the water. Could it be?
Thanks!