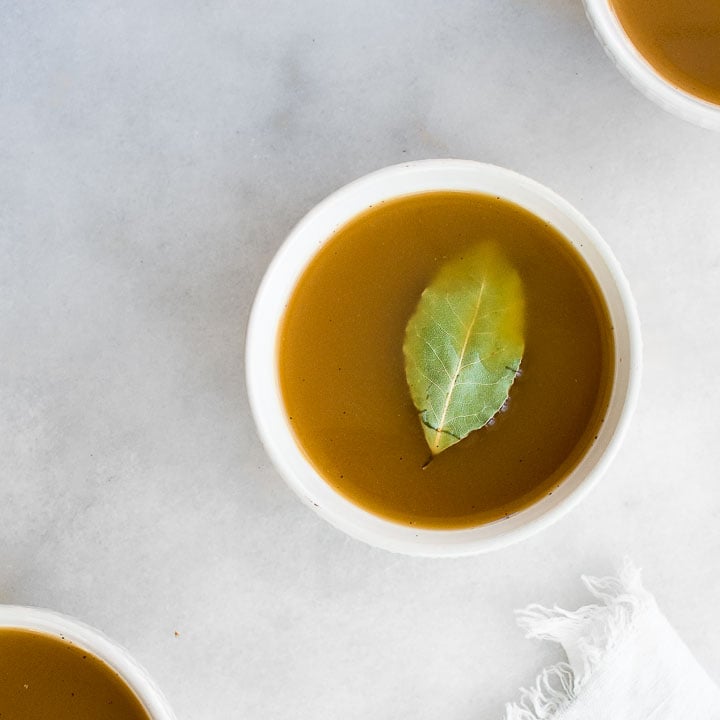
Rich in protein with a deeply savory aroma and flavor, bone broth is delicious to sip on its own as a restorative tonic. You can also use it as a foundation for soups and stews. This bone broth recipe is easy to make and straightforward.
Jump to
- What is bone broth?
- Why this recipe works
- What's the difference between broth, stock, and bone broth?
- Key Ingredients for Bone Broth
- What equipment do you need?
- How to Make Bone Broth
- Recipe Tips
- How to Use Homemade Bone Broth
- Bone Broth Recipe
- Love this recipe? There's more.
- Variations
- Get the Book
- Recipe Questions
- Feedback
What is bone broth?
Bone broth is a collagen-rich liquid made by simmering meaty animal bones in water for several hours. In addition to animal bones, you can also flavor the broth with vegetables, herbs, and spices.
Many cooks add apple cider vinegar or wine to the bones. They help to break down the collagen in the connective tissue of meaty bones. This results in a protein-rich broth that gels upon cooling. This collagen contributes most of the benefits of bone broth, which is why home cooks prize a slow-cooked, gelatinous broth.
Why this recipe works
- Swapping wine for apple cider vinegar gives bone broth a better flavor, with all the benefits of using vinegar.
- We wait until it’s nearly finished to add fresh herbs, resulting in a brighter flavor.
- It’s easy to make. If you can roast vegetables or boil water, you can make bone broth.
What's the difference between broth, stock, and bone broth?
While they’re similar to one another, there are some key differences between broth, bone broth, and stock.
- To make bone broth, you simmer meaty, collagen-rich bones as well as other ingredients in water for several hours (typically at least 6 and up to 24 hours). The goal is to prepare gelatin-rich tonic for easy sipping. It is very rich in protein.
- Broth is made by simmering or poaching meat, as well as other ingredients, in water for a shorter period of time. It produces a lightly flavored liquid that has less protein.
- Stock is made by simmering meaty bones as well as other ingredients in water until it forms a flavor-rich liquid. It typically cooks for less time than bone broth, and it is used as a foundation for other foods.
- Meat stock is popular on the GAPS diet, and it is made by simmering meat for a short period of time, similar to basic broth.
Key Ingredients for Bone Broth
At its simplest, bone broth needs only two ingredients: animal bones and water. In addition to these basic ingredients, you can also add vegetables, herbs, spices, and an acidic ingredient such as wine or vinegar.
- Bones are the foundation of bone broth. You can use the bones from any animal, including bison, turkey, chicken, or beef bones.
- Vegetables give your broth flavor and are best added at the end of cooking. Carrots, celery, onions, and garlic are popular.
- Herbs and spices give your broth flavor. Parsley, sage, thyme, and black pepper are popular, but you can use just about any herb or spice you like.
- Wine or apple cider vinegar is often added to bone broth. Their acidity improves the flavor of the broth and helps to break down collagen. The result is a great-tasting broth with a silky texture that becomes gelatinous when it cools.
What are the best bones for broth?
For a good-flavored broth that's also rich in protein and gelatin, select a wide variety of bones that include some joints as well as meaty bones.
- For beef, use knuckle and neck bones, shanks, short ribs, and oxtails. You can also use marrow bones, too. But, too many marrow bones make for poor flavor, greasy texture, and no gel.
- For chicken, use a whole chicken, chicken feet, the frame of a roasted chicken, or chicken backs and wing tips. You can even make it using only chicken feet.
- For turkey bone broth, use the frame of a roasted turkey, turkey backs, wing tips, and feet if you can find them.
- For pork, use ham hocks and pork neck bones. If you're lucky enough to find them, you can also use pork trotters, too.
Where to Find Bones for Broth
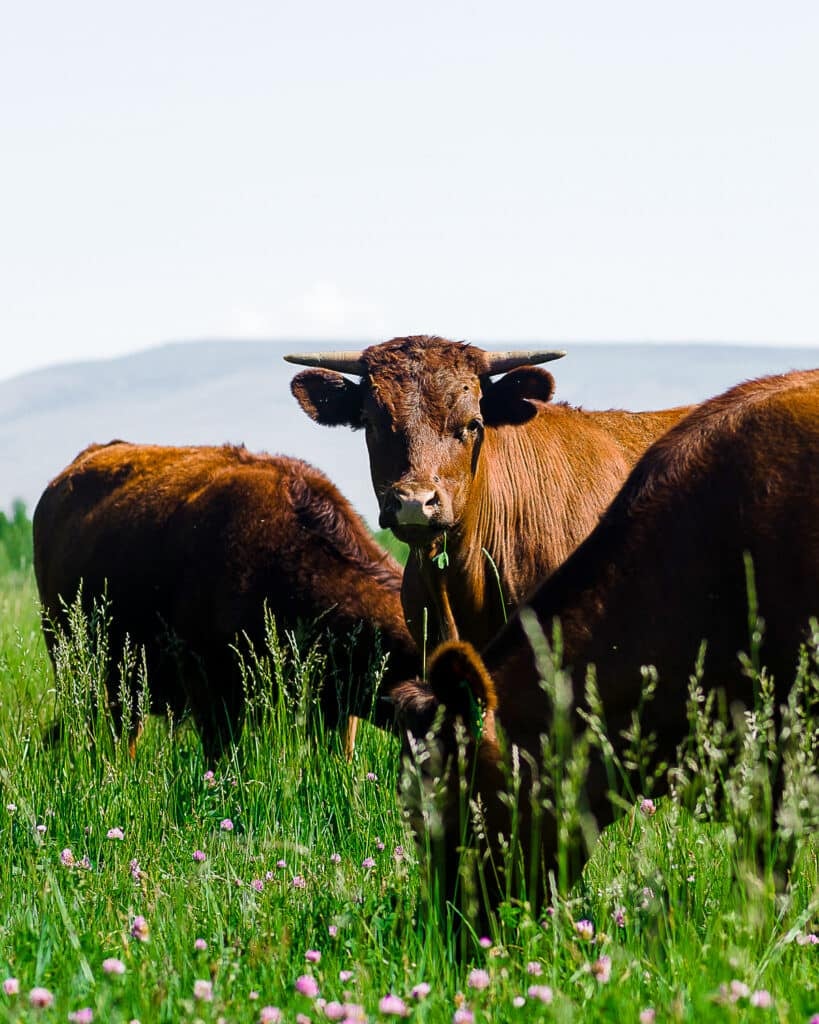
We recommend using bones from grass-fed and pasture-raised animals to make bone broth. These animals are raised outdoors on their natural diet, and their meat tends to be more nutritious than conventionally raised.
What equipment do you need?
- A baking sheet for roasting the bones. Lining the baking sheet with parchment paper will help with cleanup.
- A large stock pot or Dutch oven for simmering the ingredient together.
- A fine-mesh strainer for straining the broth.
- Mason jars for storing your broth if you don’t plan to use it right away.
How to Make Bone Broth
If you can boil water, you can make bone broth. It’s that simple. There are only a few basic steps to follow.
- Roast the bones. Roasting bones before simmering them renders some of the fat. It also improves the flavor of your broth. If you’re using garlic or onions, roast them at the same time, too.
- Add all your ingredients to a pot, and bring to a boil. Then turn down the temperature, and simmer. Bones, garlic, onions, and spices are good additions to the pot, along with water and vinegar or wine. Add other vegetables later so that they don’t overcook.
- Simmer your bones, water, and other ingredients for several hours. Plan to simmer the broth for at least 6 and up to 12 hours. Some people simmer their broth for 24 hours.
- Add any other vegetables, such as carrots or celery, when you have about 30 minutes to an hour left of cooking. Otherwise, your broth will taste like overcooked vegetables.
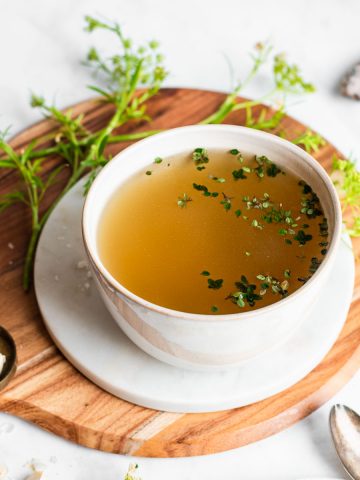
- Strain the broth. You can discard the leftover bones and veggies, then pour the golden broth into individual jars. Seal tightly, and store in the fridge for up to 1 week.
Recipe Tips
While learning how to make broth is easy, you’ll want to pay attention to some basic tips that can ensure it comes out perfectly every time. That means good flavor and an excellent, bouncy gel.
- Use a variety of bones, especially those bones with plenty of connective tissue such as neck bones, knuckle bones, trotters, as well as chicken feet and wingtips.
- Roasting your bones is essential if you’re using raw bones. If you’re using the leftover bones from a roasted chicken, you can skip this step and add them directly to the pot.
- Wine tastes better than apple cider vinegar and fulfills the same purpose. It helps release collagen from the bones, giving your bone broth a beautiful texture.
- Add spices, garlic, and onions at the beginning. They need time to release their flavor.
- Add other vegetables at the end of cooking. Carrots, celery, and similar vegetables cook quickly. If they cook too long, your broth will taste like overcooked vegetables.
- Add herbs at the very end when your broth is almost ready. You’ll get the best flavor this way.
- Too many marrow bones will make your broth taste fatty, and may prevent it from gelling properly.
- Simmer bone broth lightly. Avoid boiling it rapidly for the full duration of cooking. You’ll lose too much water, and the collagen will break down. That means your broth won’t gel.
- Simmer your bone broth for a few hours, not days. Simmering your broth too long results in a cloudy broth with an overcooked taste.
- Allow at least 2 inches of headspace when you pour your broth into jars. This is especially important if you plan to freeze your broth.
- Degrease the broth by placing it in the fridge overnight. The next day you may notice a white or yellow cap of hardened fat on the surface of this broth. Scoop this fat cap off before warming your broth, or it will taste greasy.
- Salt your broth before you serve it. If you add salt while it cooks, the water will evaporate and lead to an excessively salty broth.
How to Use Homemade Bone Broth
Traditionally, bone broth is served as a restorative tonic. People sip bone broth on its own or with herbs and a sprinkle of sea salt for flavor.
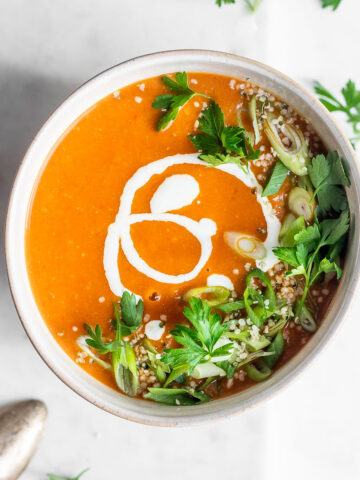
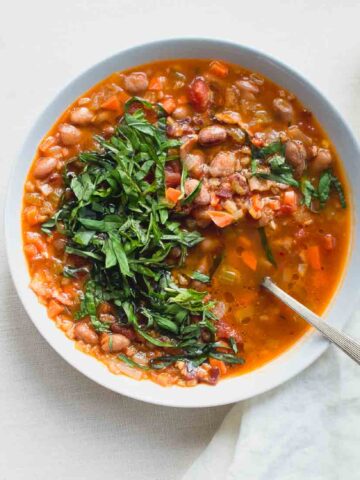
You can also use it as a foundation for various soup and stew recipes. It’s delicious as a foundation for Kale and White Bean Soup or Lentil Stew.
Use it to make sauces like gravy, pan sauce, or reduction sauces.
Cook rice or grains in bone broth for a boost of flavor and protein. It's fantastic in Wild Mushroom Risotto.
Love this recipe? There's more.
Join Nourished Kitchen+ for ad-free browsing, nourishing monthly meal plans, live workshops, and access to all our premium downloads.
Variations
For beef, lamb, or pork bone broth, choose a variety of meaty bones with plenty of connective tissue. Follow the recipe above, but simmer for about 12 to 16 hours. You may also need to increase the water content.
Consider adding ginger to the roasting pan in addition to garlic and onions. Skip the parsley, and add fragrant spices such as star anise or turmeric.
Make an herb-forward version by adding a bunch of fresh sage and thyme to the pot at the same time you add the parsley.
Make a vegetable-heavy version by adding chopped carrots, chopped celery, and chopped parsnips to the pot about an hour before it’s finished cooking.
Try it in the slow cooker instead of on the stove. Add the roasted bones, onions, and garlic to your slow cooker, and then add wine, water, and other ingredients. Cook on low for 8 hours.
Try it in the pressure cooker. Roast the bones and vegetables, and then add them to the insert of your Instant Pot. Pour in the wine and water, and then add the black pepper and parsley. Pressure cook for 120 minutes, and then let the pressure release naturally.
Get the Book
Our best-selling cookbook, Broth & Stock, guides you through making a dozen master recipes (for everything from bone broth to seafood stock) with guidance on how to use them to make amazing soups, stews, risottos, and more. It's everything you need to know about nourishing broths.
Try it in these recipes
Recipe Questions
Homemade bone broth will keep in the fridge for about 5 days and in the freezer for up to 6 months.
Pour the hot broth into mason jars, allowing about 2 inches of headspace. Seal them tightly with a lid and allow them to cool to room temperature. Next, transfer the jars to the fridge or to the freezer.
If you have a pressure canner, you can also pressure can your broth so that it is shelf-stable. Follow the guidelines from the National Center for Home Food Preparation. Processing times depend on how large your jars are and your altitude.
Liquids expand when frozen. For this reason, allow about 2 inches of headspace in your container when freezing bone broth. Use it up within about 6 months.
If boiled too long, both bones and vegetables can make your broth taste overcooked. So you should simmer your broth long enough to extract plenty of amino acids and protein but not so long that it damages the flavor.
Bones and connective tissue help your broth to gel. Boiling your bone broth at too high a temperature or for too long can break down gelatin. Using too much water can also prevent it from gelling. Read more about why your broth doesn’t gel.
Apple cider vinegar is a popular addition to bone broth; however, it's unnecessary. Any acidic ingredient, including wine or even lemon juice, can replace apple cider vinegar - often with better, tastier results.



shannon says
this recipe doesn't include proportions nor when to add things at what time. can this be provided?
Jenny McGruther says
Hi Shannon,
The recipe does include portions, when to add ingredients, and at what time to add them, and how long to cook them. You just have to ... you know ... read.
Kathy Jo B Connors says
I'm wondering if the simmer could be done in a crock pot and still yield good results. What are your thoughts?
Jenny McGruther says
Hi Kathy!
Yes. Instructions are listed under variations.
lowandslow says
Roasting is key do not skip this step in the recipe.We use stove top pressure cooker,it`s faster,more energy efficient while extracting more of that delicious collagen and nutrients.
tarryn says
So this broth recipe actually works. I kept making another recipe and it just tasted weird or something. This one is actually good.
Laura says
I tried some other bone broth recipe from another site and it was not as good as this.
TJW says
You can also pressure can your bone broth to last for months or years! Super convenient to grab a jar out of the pantry when you are making dinner.
If you're going to freeze it, it works best to use a large-mouth jar because as it freezes it expands of course, and there is less breakage with the extra room at the top of the jars.
Turkey necks are often on sale after the Thanksgiving/Christmas holidays, as well as backs. These are fantastic and inexpensive, and make delicious broth! I use turkey broth in place of chicken broth in recipes frequently.
Be sure to deglaze your roasting pan with the wine or apple cider vinegar - you don't want to miss any of those yummy bits!
lowandslow says
This is similar to mine ,for beef I add small amount of tomato paste and a splash of red wine.The stove top pressure cooker makes bone broths and stocks in less than half the time while saving energy.Thanks for sharing this.
Roderick says
This made really good broth.
Renee says
Probably the easiest bone broth recipe I've made. And it's so much better without the apple cider vinegar. I think next time I'm going to add some garlic to it for more flavor.
Emma A says
So this is my go-to recipe for bone broth. It's really easy, and the flavor is good. And it's so much better with wine instead of apple cider vinegar.
JM says
This has got to be the easiest recipe. I tried it with leftover beef marrow and knuckle bones that I roasted. I also added onion and garlic. It came out so good. I added red wine though, instead of white, because that's what I had. I used to use apple cider vinegar, but you've converted me. Wine gives it a much better flavor.
Charli says
I used chicken bones and I added some thyme because I didn't have bay leaf. It came out super nice and it was the first time I actually got my bone broth to gel. So that's a win.
Lynn says
This method worked really well for me. I used a leftover roast chicken, and it's the first time I was able to get my broth to actually gel.
Deadra Moore says
I really appreciate the amount of research you have done about all of this. REALLY reassuring. Question: I can much more easily get turkey and chicken neck bones instead of feet or backs. They're just as good, right? Just wondering why you didn't mention them in your "bones list."
I can't wait to explore your site and recipes more!
Thanks,
Annette Leroux says
Followed the recipe to a t with meaty neck bones. When the liquid was not covering the bones, heated another 6 cups of water to similar temperature and added to cover. Barely simmering for 12 hours and turned off. Let it cool, strained. Refrigerated for several hours. Tastes great but no sign of gelling. Why?
Jenny McGruther says
Hi Anette,
It likely didn't gel, because you didn't follow the recipe. By adding additional water (50% more than the recipe called for), you likely diluted the gelatin and prevented it from gelling properly. You can learn more about how to get a good gel here: https://nourishedkitchen.com/bone-broth-doesnt-gel/
Lisa P. says
I made beef bone broth. This recipe was very easy and it worked great. Thank you so much!
Joni says
As a cook of many years, I did not know that I was making bone broth. Your very clear recipe made me smile over how long I have made it and called it stock or soup broth. So you have my complements for this well and clearly written recipe.
Shane Carter says
I think it is a magical trick. I made it and it is so delicious.
Rachel O'Dell says
Finally a basic broth recipe I love! Using white wine instead of ACV definitely gives it a nicer flavor! I make this every week now as a restorative and am grateful to have found this recipe! Thank you!
Andy says
I am impressed that you can yield 2 quarts from only 12 cups of water after going for 8 hours. I had my simmer almost undetectable. I had twice the bones - 2 pounds of marrow, 2 pounds of knuckle, and a 2 pound oxtail. It took 20 cups of water to cover the bones in my 20qt stock pot by two inches. Throughout the cooking I ended up adding 6 more cups of water because the bones were so exposed I felt not much would be happening without it...
After 9 hours, I ended up with 6 cups of pure gelatin covered by a half inch fat cap. It's a beautiful thing.
Others seem to be more concerned about the mineral content, but I'm really here for the collagen. The one thing I will mention is that a friend uses mineral water when he makes it. I realize it's obviously more expensive, but just throwing that out there as an option to increase the mineral content.
Robyn Roscoe says
Question: when I filter/strain and then cool, I scrape off the fat. Underneath the fat is brown jelly – I assume this is the desired gelled material? Do I also keep and freeze any ungelled liquid sediment beneath that, or just the gelled portion?
Another question: do I need cheesecloth to strain?
Jenny says
Hi Robyn,
The brown jelly is gelled broth! The entire thing is edible: fat, gelled broth, and sediment. You do not need a cheesecloth to strain, but you can if you like.
Robyn Roscoe says
Thank you!! I make this bone broth often, and don't want to be throwing out any of the good bits :-).
Denise says
Once the simmered bone gel is achieved, are you suggesting to add water to liquefy it in order to drink it? Also, do you freeze the gel as is and then add your liquid in order to drink it?
Jenny says
Hi Denise. Broth should be liquid when it's hot and set to a gel once it has cooled. Since you'll warm the broth before drinking it, it won't be a solid gel.
Logan says
My stove kicked off and I didn't notice until everything cooled, is my broth ruined or can I just bring the temp back up?
Jenny says
I would feel comfortable turning it back on again, but it may pose a food safety risk.
Hilary says
Hello - if not using wine, how much apple cider vinegar would you recommend?
Jenny says
Absolutely none. ACV doesn't release minerals, and doesn't do much to improve the flavor of broth. If I couldn't do wine, I'd add a squeeze of lemon or just go without.
Taryn says
Hey there, just wondering your source of info of ACV not releasing minerals?? ACV has a long standing use in the herbalist world for releasing minerals.
Jenny says
Hi Taryn, Bones are not herbs. And making an herbal vinegar is not the same as making bone broth. So while soaking herbs in vinegar for an extended period of time may extract their minerals, the same can't be said for making bone broth; indeed, ALL lab analysis shows that bone broth only contains trace amounts of minerals.
karen says
any thoughts on using a pressure cooker? I get the bone broth -all except fish - to gel nicely and like the way it breaks down the bones - even most beef! I tend to cook for an hour, let it cool, strain, add vegies and bones back into the pot, add more water and pressure cook for another hour. double the quantity.
Jenny says
It's fine to use a pressure cooker.
Robyn says
Question: when I filter/strain and then cool, I scrape off the fat. Underneath the fat is brown jelly - I assume this is the desired gelled material? Do I also keep and freeze any ungelled liquid sediment beneath that, or just the gelled portion?
Another question: do I need cheesecloth to strain?
Robyn Roscoe says
Please help, I don't like the idea that I'm wasting good material by throwing it away, or making my broth less than ideal by keeping stuff I should toss. Thanks.
Jenna says
Super easy to make. I tried it with a leftover roasted chicken, and it came out really well. Got great gel, too.