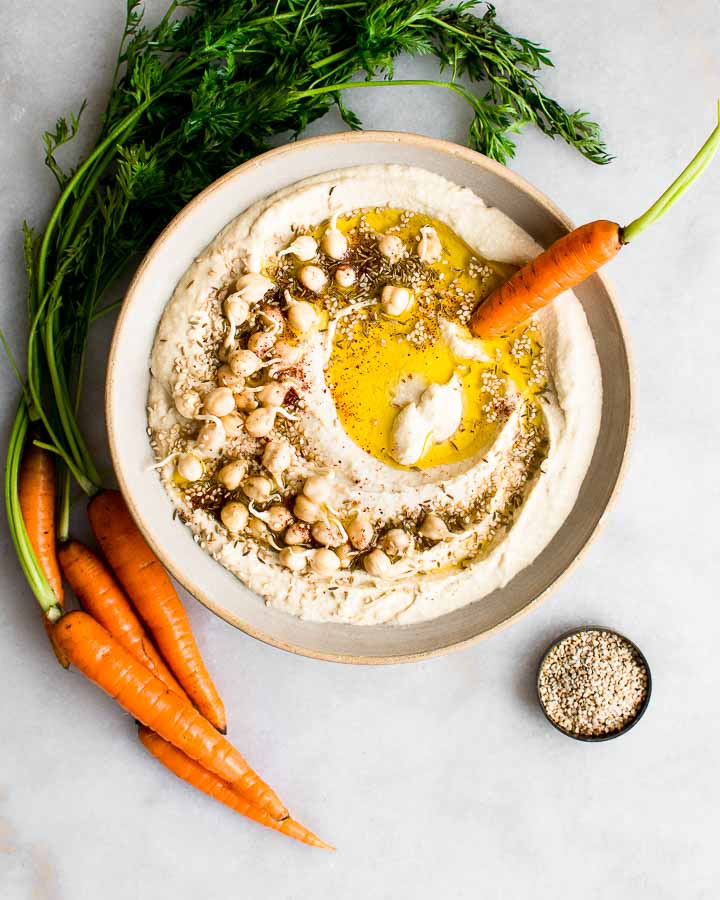
Each week, we make a few staple foods. such as homemade yogurt, to be sure. Or real bone broth. Homemade sourdough bread. This sprouted hummus is made with chickpeas, garlic, lemon, and plenty of extra virgin olive oil.
Sprouting is a magical process to watch. It's a slow and gently transformative process that wakens a seed from its dormancy. It's also easy (budget-friendly!) to pack more nutrients into foods you already make and love.
Why Sprout (and cook) Chickpeas
Like most kitchen adventures, sprouting always seems intimidating at first. But once you try it, you'll find that it's actually super easy - and you'll wonder why it took you so long.
I promise you this: If you can fill a jar with water and give it a good shake, you can sprout chickpeas for hummus (and just about anything else, too).
But, beyond the fun of watching a seed, or grain or bean come alive, sprouting also makes foods more nutritious. Much in the same way that making sauerkraut makes cabbage more nutritious, and that's because there's several key processes at play.
Like all pulses, chickpeas contain food phytate as well as enzyme inhibitors (1, 2). Soaking and sprouting improves the nutrient profile of chickpeas, just soaking grains improves their nutrition, too. That's because phytates bind minerals and make them difficult to absorb, while enzyme inhibitors can make foods difficult to digest and protein difficult to absorb.
When you soak and then sprout chickpeas, you release food enzymes that mitigate the presence of both food phytates and enzyme inhibitors. As a result, the minerals and protein in sprouted hummus are more easily absorbed by your body, and the hummus is also easier to digest.
While sprouting is particularly effective at reducing these anti-nutrients, it's not sufficient on its own. And the you'll see the greatest improvement in nutrient availability when you sprout and then cook chickpeas (3) before making hummus or other foods from them. That's also why making raw sprouted hummus is generally a bad idea.
Pressure cooking chickpeas in your Instant Pot or in another pressure cooker is even more effective at reducing these compounds than cooking on the stove. It's also faster, too.
Tips for Making Sprouted Hummus
Making sprouted hummus is a simple process, even though it takes a few extra steps. First, you'll begin by soaking chickpeas in warm water and then draining the water. After that, you'll need to rinse and drain them daily until they germinate. Next, you'll cook the chickpeas either on the stove or, preferably, in your pressure cooker before puréeing them with garlic, tahini, extra virgin olive oil and a squeeze of lemon.
And while the process of making sprouted hummus is pretty straightforward, there's a few things you'll want to keep in mind to make sure the recipe comes out great every time.
- Plan ahead. It takes about 3 days for chickpeas to sprout sufficiently to make hummus.
- Soak chickpeas in warm (not hot or cold) water. Warm water facilitates the release of enzymes and helps your chickpeas sprout.
- Keep the jar at a cool room temperature. Sprouting favors a cool room temperature of about 68 to 70 F.
- Use a jar fitted with a mesh sprouting lid. A ventilated sprouting jar or a jar fitted with a mesh lid allows water to drain efficiently. Without it, your chickpeas will be prone to mold.
- Rinse the chickpeas 2 to 3 times daily. Fill your jar with water, shake gently, and then let it drain completely.
- Blend the ingredients really well to promote a smooth, spreadable hummus.
Sprouted Hummus Variations
Once you've mastered the basic technique for making sprouted hummus, you can add different flavor combinations and new seasonings.
Add serrano or jalapeños and a touch of cumin. A little bit of heat can balance the naturally earthy flavor of hummus.
Add garlic confit instead of raw garlic, for a rich and more complex garlic flavor.
Add a slice of preserved lemon for a probiotic boost and a fantastic flavor.
Add roasted beets for a reach color and a touch of sweetness.
Add a spoonful of miso paste for a rich, complex umami flavor.
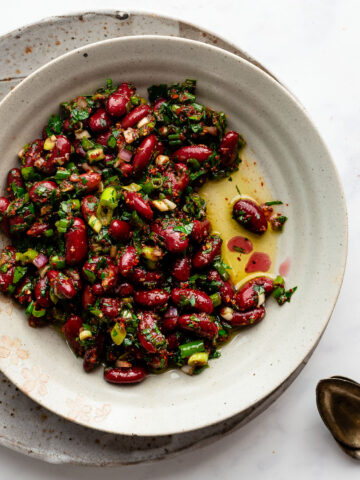
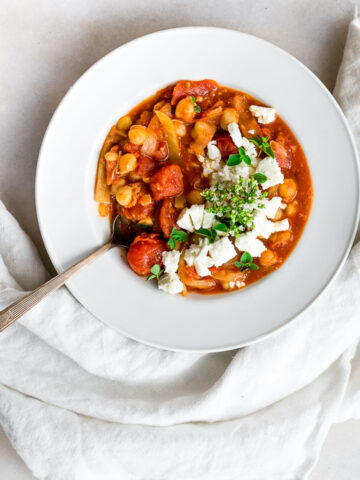
Try these chickpea, bean, and lentil recipes next
References
1) Duhan, et al. (1986) Phytic acid content of chickpea (Cicer arietinum) and black gram (Vigna mungo): varietal differences and effect of domestic processing and cooking methods. Science of Food and Agriculture.
2-3) Shi, L., et al. (2017). Changes in levels of enzyme inhibitors during soaking and cooking for pulses available in Canada. Journal of food science and technology.
Niece says
Thank you so much for your super simple and delicious recipe!! I also enjoyed reading about your weekly food prep as I was doing the same! I finished my yogurt yesterday so hummus today… then the bentos for the week. Stay awesome!
Mindy says
Don't you need to sprout the sesame seeds instead of using tahini?
Jenny McGruther says
No.
Margaret says
I made this recipe and it was delicious, so fun to watch the chickpeas sprout. I'll definitely be keeping this in the repertoire! Is this recipe freezable should I decide to make a bigger batch in the future? Thank you!
Jenny says
Hi Margaret,
Glad you liked the recipe. I do freeze this hummus, and whip it after thawing.
Amanda R. says
Eating some red pepper hummus made with sprouted chickpeas right now. The hummus is a little dry because I was following a different recipe; yours calls for much more liquid so I'm trying it this way next time. Nom nom!
Emily says
So good!! Made a batch and then made a double batch. I'm going to feed it to my veggie/ bean hesitant friend this weekend. I'm trying to teach her to diversify her diet. So good. I had a pretty easy time removing the skin. When rinsing them with cold water I scrubbed at them with my hand and about half the skins came off. The others I pinched one at a time and they pop right out of the skins. Takes 5 minutes and the effort is worth it because this hummus is so much better than the hummus I have made in the past where I skipped this step.
Susan says
I made this recipe and it is awesome!!! To help remove the skins I put the cooked Garbanzo beans in a bowl with cold water and scooped the skins out with a slotted spoon as they floated around. and then I would stir the beans around to get the skins to come up and scoop some more. I don't think I got all of them but I got most. And this seemed to speed the process a bit. Great hummus recipe! Thank you!