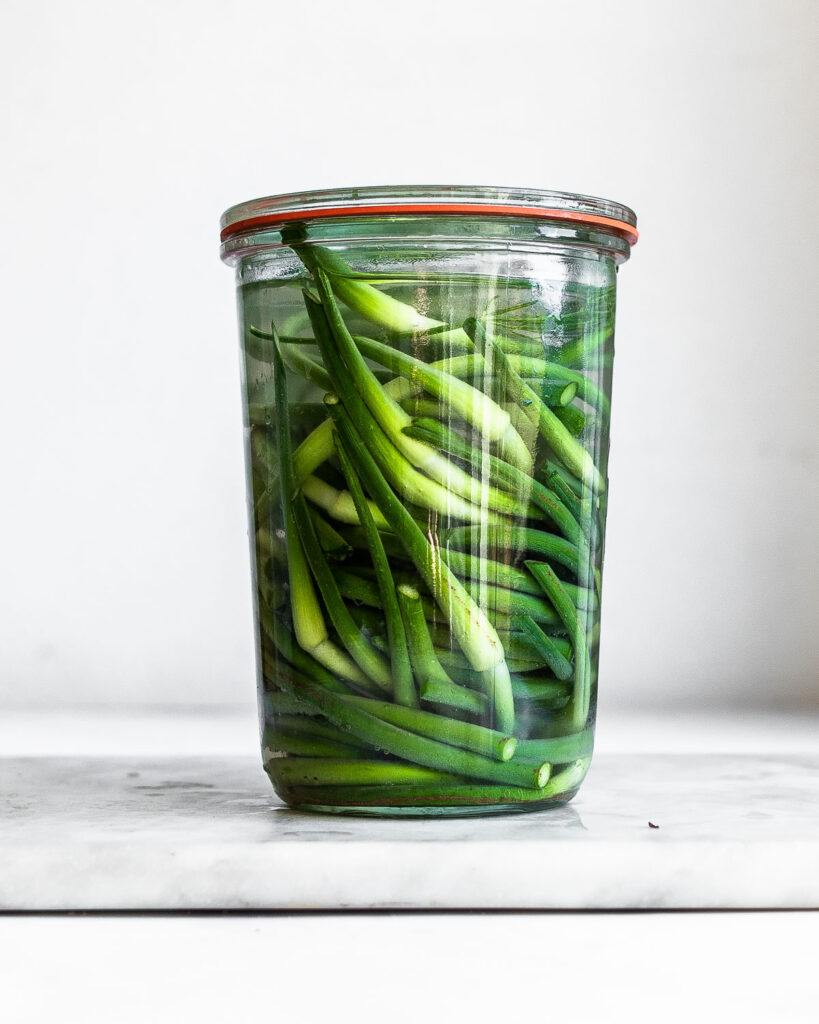
These Fermented Garlic Scapes have a gorgeous, deep, garlicky flavor complemented by a pleasant sourness. Garlic scapes come into season during the late spring and early summer, so look for them at farmers' markets.
What is it?
Garlic scapes are the serpentine flower of the garlic plant. In late spring and early summer, farmers cut away the stem and flower, which forces the plant to send its energy downwards - toward the root. As a result, garlic plants produce bigger bulbs.
The flower, or scape, has a delicate garlic flavor that's less pronounced than the flavor of the mature cloves. It also offers a fresh, green edge reminiscent of scallions. You can eat them raw, sauté them as you would garlic cloves, grill them, turn them into garlic scape pesto - or pickle and ferment them, too.
What's in it?
This recipe calls for brine-pickling or fermenting the garlic scapes. Brine pickling is a fermentation technique that's also used in making sour pickles and these fermented carrots. And it's easy, too, calling only for your vegetables (in this case garlic scapes), salt, water, and spices (if you like them).
- Garlic scapes are the foundation of this fermented pickle. They have a light garlicky flavor and a firm texture that holds up well to fermentation. Garlic is also a strongly anti-inflammatory herb that supports metabolic health (1) and immune system function (2).
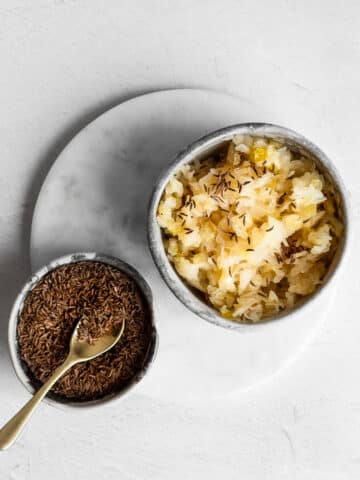
- Salt is essential for proper fermentation. It helps keep ferments crisp while also creating optimal conditions for beneficial bacteria responsible for fermentation, such as lactobacillus, to multiply.
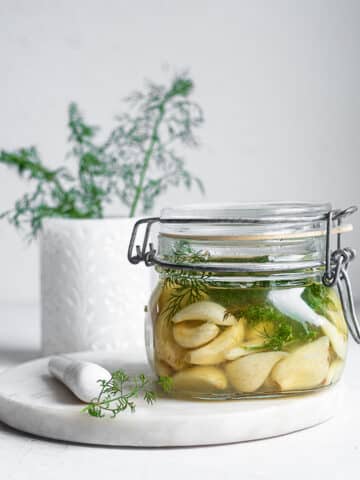
- Dill and other herbs can give your pickled garlic scapes flavor. While we prefer fresh dill fronds or flowering dill, you can also substitute dried dill or other herbs and spices as you like.
Tips for fermenting garlic scapes
Making fermented garlic scapes is simple and straightforward. Unlike traditional pickling, which requires heat, fermentation happens at room temperature. You start by snuggling the scapes into a jar along with any herbs or spices you like, and then cover them with saltwater brine.
After that, you seal the jar and wait for the beneficial bacteria present on the scapes to do their work - eating the carbohydrates in the vegetable and releasing acids that help preserve - or pickle - the scape. Still, there are a few tips to keep in mind.
- Use clean, unblemished scapes. Soft, mushy, or similarly blemished scapes can spoil or produce an inferior ferment.
- Younger scapes are the most tender, and they make the best pickles.
- Trim the end of the flower; otherwise, it can be difficult to eat.
- Use minimally processed salt without additives. Iodized salt can sometimes make ferments taste metallic or tinny.
- Use a fermentation jar equipped with an airlock. Properly sealed ferments are less likely to become contaminated with mold or stray microbes.
- Use glass weights to keep your scapes fully submerged in the brine. Glass weights keep the vegetables completely submerged in the brine, helping to prevent the formation of mold.
- Place the jar in a bowl during the first few days of fermentation, as the brine may leak from the jar when fermentation is most active.
- Temperature matters. The scapes will ferment faster in warm temperatures and more slowly at cold temperatures. The ideal temperature is 68 F - 72 F.
- Fermentation is finished when you like the flavor of your pickled garlic scapes (about 6 weeks). Some people prefer less mature ferments, while others may prefer stronger and more complex ferments.
- Test the brine using PH strips. Once it achieves a PH of 4.5 or less, your ferment is finished.
Variations
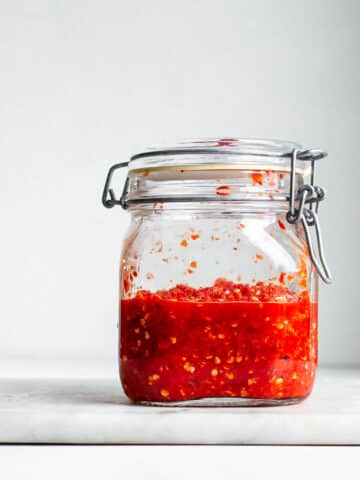
Add pickling spices such as coriander, black pepper, mustard seed and allspice to the jar along with the garlic scapes.
Add chiles such as jalapeño or cherry bomb peppers to kick up the heat and amplify the flavor of the scapes.
Add dill fronds or flowering dill to give the garlic scapes a traditional dill pickle flavor.
Chop the garlic scapes instead of pickling them whole.
Common Questions
No. While a starter culture, such as the brine from sauerkraut or a purchased starter, can speed up fermentation it is not necessary for a successful brine pickle. Read more about the use of fermentation starters and when to use them.
If you use proper equipment, such as fermentation weights and a fermentation seal, you will reduce the chances of mold formation.
You can store these brine-pickled garlic scapes in the fridge (or a root cellar) in a tightly sealed jar for up to 1 year.
Yes; however, you may damage the beneficial bacteria produced by fermentation if you freeze the scapes.
Yes, you are able to can fully fermented garlic scapes using the water bath method as long as they reach a safe PH of less than 4.5. Keep in mind that water bath canning destroys the beneficial bacteria created during fermentation, so it's not recommended. If you plan to can your pickled garlic scapes, look for a recipe using vinegar.
References
- Choudhary, Prema Ram et al. "Effect of Raw Crushed Garlic (Allium sativum L.) on Components of Metabolic Syndrome." Journal of dietary supplements vol. 15,4 (2018): 499-506.
- Arreola, Rodrigo et al. "Immunomodulation and anti-inflammatory effects of garlic compounds." Journal of immunology research vol. 2015 (2015): 401630.
Miriam says
I use the pink salt in my kitchen. Do I need to get fine seasalt? Or could I finally grind my pink salt for this?
Thanks for this recipe. I've been giving my garlic skepes away for years. Cause I didn't really know what to do with them.
Jenny McGruther says
Hi Miriam!
I need a little clarity before answering your question. Do you mean Pink Salt (sodium nitrite) or Himalayan Pink Salt? Any sea (or mined) salt will work here: sodium chloride. But do not using pink curing salt (sodium nutrite).
farmer james says
Pickled garlic is insanely delicious. Scapes have always been a great add in with stirfries in our home. I may add some to the pickled okra next time.
Tammy Schack says
I've grown garlic for several years and had no idea you could use these tops called scapes (new to me also) to ferment. I am also a newby at fermenting/culturing, so this is all so exciting to me! Thanks for information I haven't seen anywhere else. I'll be doing this today!